QuickBooks Point of Sale update error code 121?
What is QuickBooks Point of Sale update error code 121?
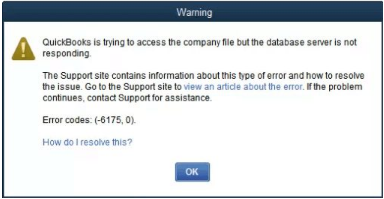
QuickBooks Error Code 121 signifies that you have to sign in the POS to another system rather than the system admin in which you encountered this error. You can face the QuickBooks error with a pop-up warning error message:
Error Message: “QuickBooks POS Error 121 denied you do not have permission to select from timeouts”
Steps to Fix QuickBooks POS Error 121
To fix the QuickBooks POS Error 121, you have to delete all the data in the Entitlement Client folder & remove the WSActivity.xml file. Before attempting the resolution steps ensure that all the Point of Sale process & services is blocked or stopped. However, you can take help from QuickBooks Point of Sale Error Support team to get instant help.
Step 1: Close all the POS Process & services
- Firstly, Select the “Task Manager” tab
- After that Choose the required Processes
- Locate & close all the processes
- Shut-down the Task Manager process
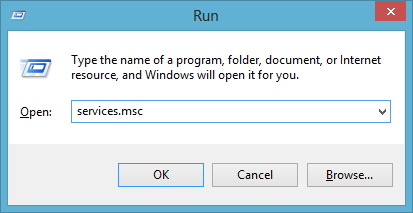
- In the Windows search option, enter the “services.msc”
- Go to the Services window; look for “QBPOS Database Manager XX” (“XX” means QuickBooks version)
- Stop all the services & turn off the services windows
In case, the problem associated with “QuickBooks POS update: Error 121” still exists within the QuickBooks software then we propose you to follow the steps mentioned below:
Step 2: Delete the Required Files
- You have to View the hidden Windows folders.
- Windows 8.1 and 8
- Windows XP
- Vista and Windows 7
- You need to Move to the location depending on your Operating System:
- Windows 8 and 8.1: C:\ Program Data\Intuit\Entitlement Client\v8.0
- Vista and Windows 7: C:\Program Data\Intuit\Entitlement Client\v8.0
- Windows XP: C:\DocumentsandSettings\AllUsers\ApplicationData\Intuit\EntitlementClient\v8.0
- Hit onto all the files in the folder & click on the “Delete” tab.
- Move to the previous location: C:\ Program Data\Intuit\QuickBooks Point of Sale XX.0.
- Go to the INI folder, and then delete the WSActivity file.
- Open the Point of Sale again & download and install the required updates.
- Complete the final registration process.
Comments
Post a Comment